메모
전체 예제 코드를 다운로드 하려면 여기 를 클릭 하십시오.
직사각형 및 타원 선택기 #
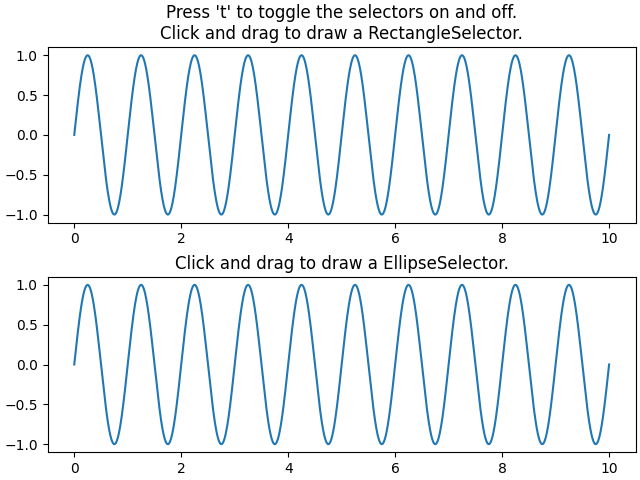
어딘가를 클릭하고 마우스를 이동한 다음 마우스 버튼을 놓습니다.
단추를 놓을 때까지 초기 클릭 위치에서 현재 마우스 위치(동일한 축 내)까지 직사각형 또는 타원을 그립니다 RectangleSelector. EllipseSelector연결된 콜백은 클릭 및 해제 이벤트를 수신합니다.
from matplotlib.widgets import EllipseSelector, RectangleSelector
import numpy as np
import matplotlib.pyplot as plt


def select_callback(eclick, erelease):
    """
    Callback for line selection.

    *eclick* and *erelease* are the press and release events.
    """
    x1, y1 = eclick.xdata, eclick.ydata
    x2, y2 = erelease.xdata, erelease.ydata
    print(f"({x1:3.2f}, {y1:3.2f}) --> ({x2:3.2f}, {y2:3.2f})")
    print(f"The buttons you used were: {eclick.button} {erelease.button}")


def toggle_selector(event):
    print('Key pressed.')
    if event.key == 't':
        for selector in selectors:
            name = type(selector).__name__
            if selector.active:
                print(f'{name} deactivated.')
                selector.set_active(False)
            else:
                print(f'{name} activated.')
                selector.set_active(True)


fig = plt.figure(constrained_layout=True)
axs = fig.subplots(2)

N = 100000  # If N is large one can see improvement by using blitting.
x = np.linspace(0, 10, N)

selectors = []
for ax, selector_class in zip(axs, [RectangleSelector, EllipseSelector]):
    ax.plot(x, np.sin(2*np.pi*x))  # plot something
    ax.set_title(f"Click and drag to draw a {selector_class.__name__}.")
    selectors.append(selector_class(
        ax, select_callback,
        useblit=True,
        button=[1, 3],  # disable middle button
        minspanx=5, minspany=5,
        spancoords='pixels',
        interactive=True))
    fig.canvas.mpl_connect('key_press_event', toggle_selector)
axs[0].set_title("Press 't' to toggle the selectors on and off.\n"
                 + axs[0].get_title())
plt.show()

참조
다음 함수, 메서드, 클래스 및 모듈의 사용이 이 예제에 표시됩니다.